Table of contents
Open Table of contents
SETUP
-
Create new flutter project
flutter create -e flutter_notification --platforms android,ios -
After creating the project, add flutter_local_notifications dependencies.
flutter pub add flutter_timezone flutter pub add flutter_local_notifications -
Android device setup
-
In
android/build.gradle, make surecom.android.tools.build:gradleversion is7.3.1. If not, you just can change the version -
In
android/app/build.gradle, add code below insidecompileOptionscoreLibraryDesugaringEnabled trueAnd then add code below inside
defaultConfig... multiDexEnabled trueAnd last, add code below inside
dependenciesimplementation 'androidx.window:window:1.0.0' implementation 'androidx.window:window-java:1.0.0' coreLibraryDesugaring 'com.android.tools:desugar_jdk_libs:1.2.2' -
Add permission in
android/app/src/main/AndroidManifest.xmlinsidemanifest<uses-permission android:name="android.permission.POST_NOTIFICATIONS" /> <uses-permission android:name="android.permission.VIBRATE" /> <uses-permission android:name="android.permission.SCHEDULE_EXACT_ALARM" /> <uses-permission android:name="android.permission.USE_EXACT_ALARM" /> <uses-permission android:name="android.permission.RECEIVE_BOOT_COMPLETED"/>And then add receiver inside
applicationunder themeta-data<receiver android:exported="false" android:name="com.dexterous.flutterlocalnotifications.ScheduledNotificationReceiver" /> <receiver android:exported="false" android:name="com.dexterous.flutterlocalnotifications.ScheduledNotificationBootReceiver"> <intent-filter> <action android:name="android.intent.action.BOOT_COMPLETED" /> <action android:name="android.intent.action.MY_PACKAGE_REPLACED" /> <action android:name="android.intent.action.QUICKBOOT_POWERON" /> <action android:name="com.htc.intent.action.QUICKBOOT_POWERON" /> </intent-filter> </receiver>
-
-
For IOS Setup, go to
ios/Runner/AppDelegate.swiftand then addFlutterLocalNotificationsPlugin.setPluginRegistrantCallback { (registry) in GeneratedPluginRegistrant.register(with: registry) } if #available(iOS 10.0, *) { UNUserNotificationCenter.current().delegate = self as UNUserNotificationCenterDelegate } -
Try to run to see if the setup is succeed.
Now, It’s time to code!
-
Add this icon to
android/app/src/main/res/drawableand move the icon insidedrawablefolder.
Or you can download it from here.
-
Open
main.dartand replace it withvoid main() { runApp(const MainApp()); } class MainApp extends StatelessWidget { const MainApp({super.key}); @override Widget build(BuildContext context) { return MaterialApp( debugShowCheckedModeBanner: false, home: Scaffold( appBar: AppBar( title: const Text('Notification Demo'), ), body: Center( child: Column( mainAxisAlignment: MainAxisAlignment.center, children: [ ElevatedButton( onPressed: () { NotificationService().showNotification( title: 'Notification Demo', body: 'This is a notification demo', ); }, child: const Text('Show Notification'), ), ElevatedButton( onPressed: () { NotificationService().showNotification( title: 'Notification Demo', body: 'This is a notification demo', payload: 'This is a notification demo', ); }, child: const Text('Show Notification with Payload'), ), ElevatedButton( onPressed: () { NotificationService().showScheduledNotification( title: 'Notification Demo', body: 'This is a scheduled notification demo', ); }, child: const Text('Show Notification with Schedule Notification'), ), ], ), ), ), ); } }This code will add three button to test our notification to work properly. Now, try to
hot reloador run the code.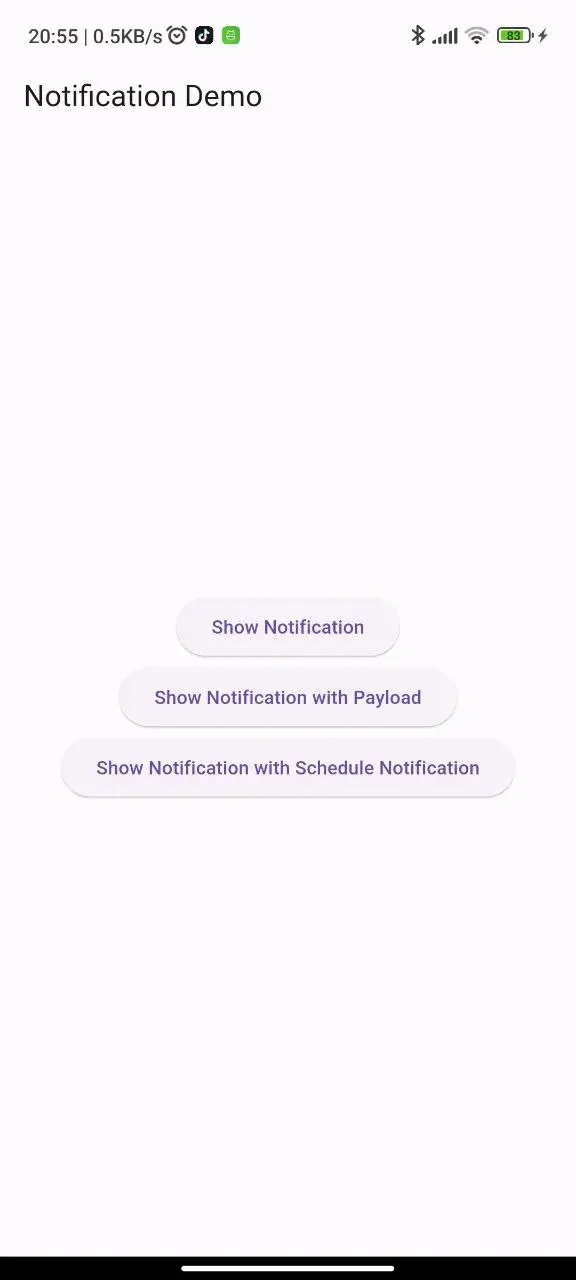
-
Now, create new file called
notification_service.dartto put our services to enable noficationimport 'package:flutter/foundation.dart'; import 'package:flutter_local_notifications/flutter_local_notifications.dart'; import 'package:flutter_timezone/flutter_timezone.dart'; import 'package:timezone/timezone.dart' as tz; import 'package:timezone/data/latest.dart' as tz; class NotificationService { final FlutterLocalNotificationsPlugin flutterLocalNotificationsPlugin = FlutterLocalNotificationsPlugin(); Future<void> initNotification() async { await _configureLocalTimeZone(); AndroidInitializationSettings initializationSettingsAndroid = const AndroidInitializationSettings('app_icon'); var initializationSettingsIOS = DarwinInitializationSettings( requestAlertPermission: true, requestBadgePermission: true, requestSoundPermission: true, onDidReceiveLocalNotification: ( int? id, String? title, String? body, String? payload, ) async {}, ); var initializationSettings = InitializationSettings( android: initializationSettingsAndroid, iOS: initializationSettingsIOS, ); await flutterLocalNotificationsPlugin.initialize(initializationSettings, onDidReceiveNotificationResponse: (NotificationResponse response) async { if (kDebugMode) { print('onDidReceiveNotificationResponse: $response'); } }); await flutterLocalNotificationsPlugin .resolvePlatformSpecificImplementation< AndroidFlutterLocalNotificationsPlugin>() ?.requestNotificationsPermission(); } Future<void> _configureLocalTimeZone() async { tz.initializeTimeZones(); final String timeZoneName = await FlutterTimezone.getLocalTimezone(); tz.setLocalLocation(tz.getLocation(timeZoneName)); } notificationDetails() { return const NotificationDetails( android: AndroidNotificationDetails( 'flutter_channel', // Change this to your channel id 'Flutter Notification', // Change this to your channel name importance: Importance.max, priority: Priority.high, ), iOS: DarwinNotificationDetails()); } Future showScheduledNotification({ int id = 0, required String title, required String body, }) async { flutterLocalNotificationsPlugin.zonedSchedule( id, title, body, tz.TZDateTime.now(tz.local).add(const Duration(seconds: 3)), notificationDetails(), androidScheduleMode: AndroidScheduleMode.exact, uiLocalNotificationDateInterpretation: UILocalNotificationDateInterpretation.absoluteTime, ); } Future showNotification({ int id = 0, String? title, String? body, String? payload, }) async { return flutterLocalNotificationsPlugin.show( id, title, body, notificationDetails()); } }Let’s breakdown the code
final FlutterLocalNotificationsPlugin flutterLocalNotificationsPlugin =
   FlutterLocalNotificationsPlugin();
This code is used for create an instance of the
FlutterLocalNotificationsPluginand namedflutterLocalNotificationsPluginso we can call the instance directly.Future<void> initNotification()This will be our function to call
initNotificationto start initialization for notification.await _configureLocalTimeZone(); ... Future<void> _configureLocalTimeZone() async { tz.initializeTimeZones(); final String timeZoneName = await FlutterTimezone.getLocalTimezone(); tz.setLocalLocation(tz.getLocation(timeZoneName)); }We will need to configure our local time zone to able to work with scheduled notification. So we need to
initializeTimeZonesandsetLocalLocationto our local time zone.AndroidInitializationSettings initializationSettingsAndroid = const AndroidInitializationSettings('app_icon');This will create an instance of
AndroidInitializationSettingsand will set the Android Notification default icon to beapp_icon. The icon that we already insert it before.var initializationSettingsIOS = DarwinInitializationSettings( requestAlertPermission: true, requestBadgePermission: true, requestSoundPermission: true, onDidReceiveLocalNotification: ( int? id, String? title, String? body, String? payload, ) async {}, );Instance of
DarwinInitializationSettingsis used for IOS devices, it specifies app permission like alert, badge and sound to able to used it.onDidReceiveLocalNotificationis used to handling received local notifications on IOS.Sadly I don’t have IOS devices so I can’t test it on IOS devices.
var initializationSettings = InitializationSettings(
   android: initializationSettingsAndroid,
   iOS: initializationSettingsIOS,
);
Instance of
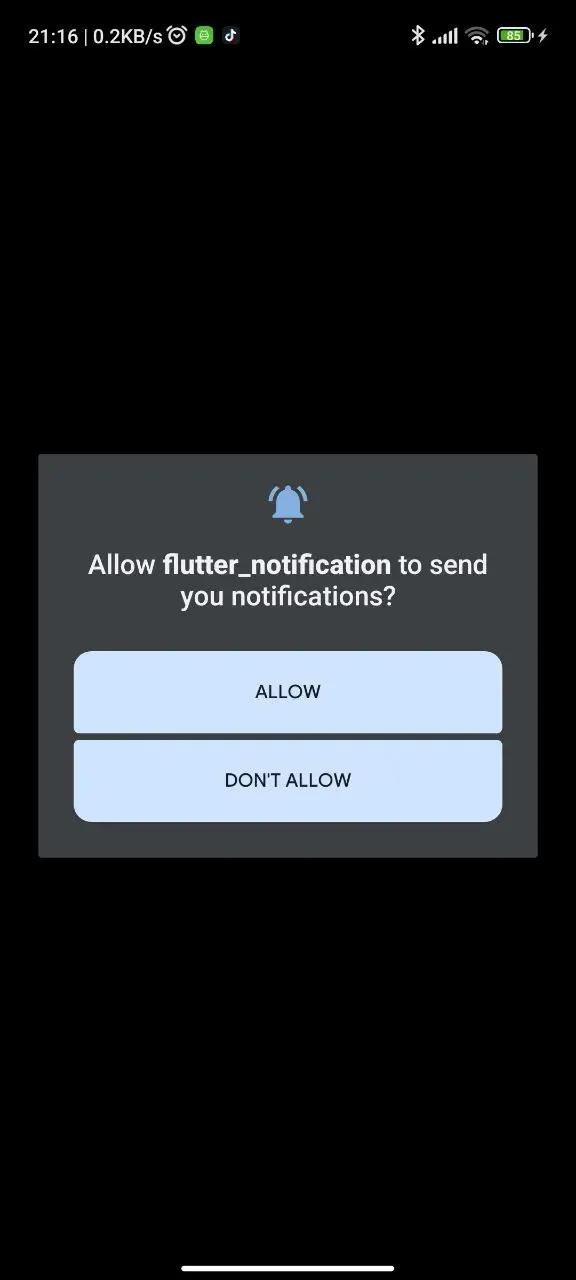
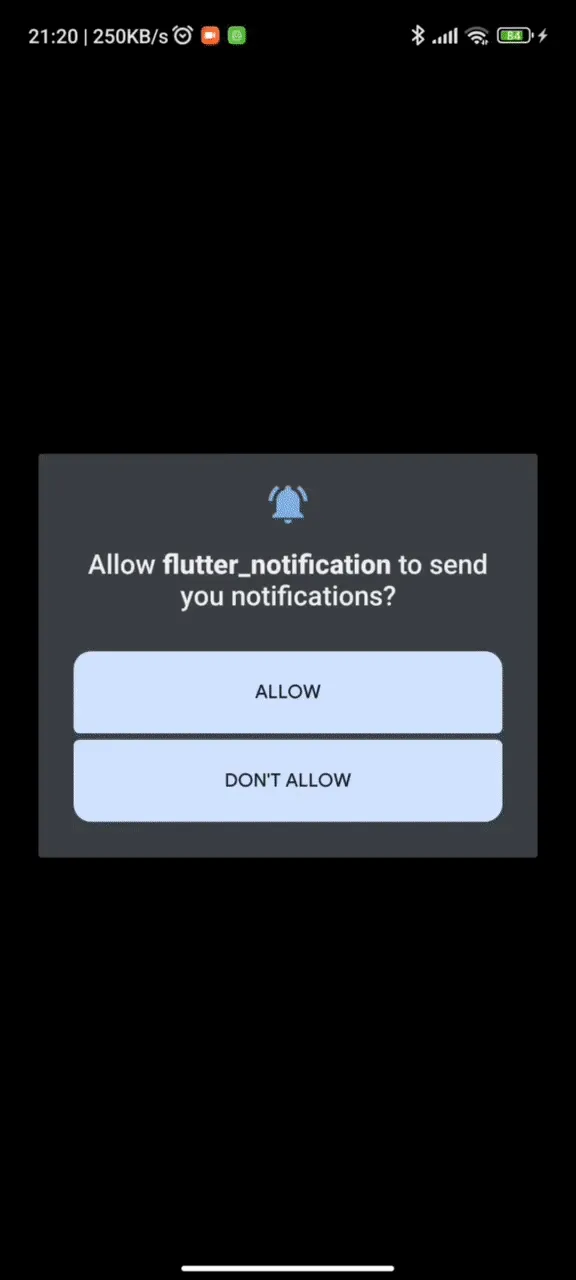
InitializationSettingswill initialize setting for IOS and Androidawait flutterLocalNotificationsPlugin.initialize(initializationSettings, onDidReceiveNotificationResponse: (NotificationResponse response) async { if (kDebugMode) { print('onDidReceiveNotificationResponse: $response'); } });flutterLocalNotificationsPluginwill initialized withInitializationSettingsawait flutterLocalNotificationsPlugin .resolvePlatformSpecificImplementation< AndroidFlutterLocalNotificationsPlugin>() ?.requestNotificationsPermission();This code will request any permission that available in Android and IOS to enalbe notification
notificationDetails() {
   return const NotificationDetails(
      android: AndroidNotificationDetails(
         'flutter_channel', // Change this to your channel id
         'Flutter Notification', // Change this to your channel name
         importance: Importance.max,
         priority: Priority.high,
      ),
      iOS: DarwinNotificationDetails());
}
This will be our function for detail of notification
Future showScheduledNotification({
   int id = 0,
   required String title,
   required String body,
}) async {
   flutterLocalNotificationsPlugin.zonedSchedule(
      id,
      title,
      body,
      tz.TZDateTime.now(tz.local).add(const Duration(seconds: 3)),
      notificationDetails(),
      androidScheduleMode: AndroidScheduleMode.exact,
      uiLocalNotificationDateInterpretation:
         UILocalNotificationDateInterpretation.absoluteTime,
   );
}

Future showNotification({
   int id = 0,
   String? title,
   String? body,
   String? payload,
}) async {
   return flutterLocalNotificationsPlugin.show(
      id, title, body, notificationDetails());
}
This will be our function to display the notification when we press the button
-
Change
void maininmain.darttovoid main() async { WidgetsFlutterBinding.ensureInitialized(); await NotificationService().initNotification(); runApp(const MainApp()); }Don’t forget to import the package
Example
Conclusion
This is how I setup and try to write notification code service in Flutter to be able to run in Android Devices. I don’t have any IOS devices in my environment so I’m sorry if my code didn’t work well in IOS.
Thank you for your time to read my post! See you next time 👋